
Flat roof replacement is an important investment that helps protect your home from leaks, weather damage, and long-term structural problems. Flat roofs on commercial buildings or low-slope homes protect us from the elements. Even these sturdy guardians eventually succumb to the wear and tear of time and weather, and when they start leaking, the granules wear out, or the puddles form, it becomes inevitable that someone must replace them. And in today’s blog, we will shed light on the steps involved in replacing these flat roofs.
While these steps may be difficult to understand, there is no need to be afraid. Understanding these steps will empower you to make the right decision and finish the project with confidence. So, put all your worries aside and begin your journey of replacing your flat roof with us.
5 Steps of a Flat Roof Replacement
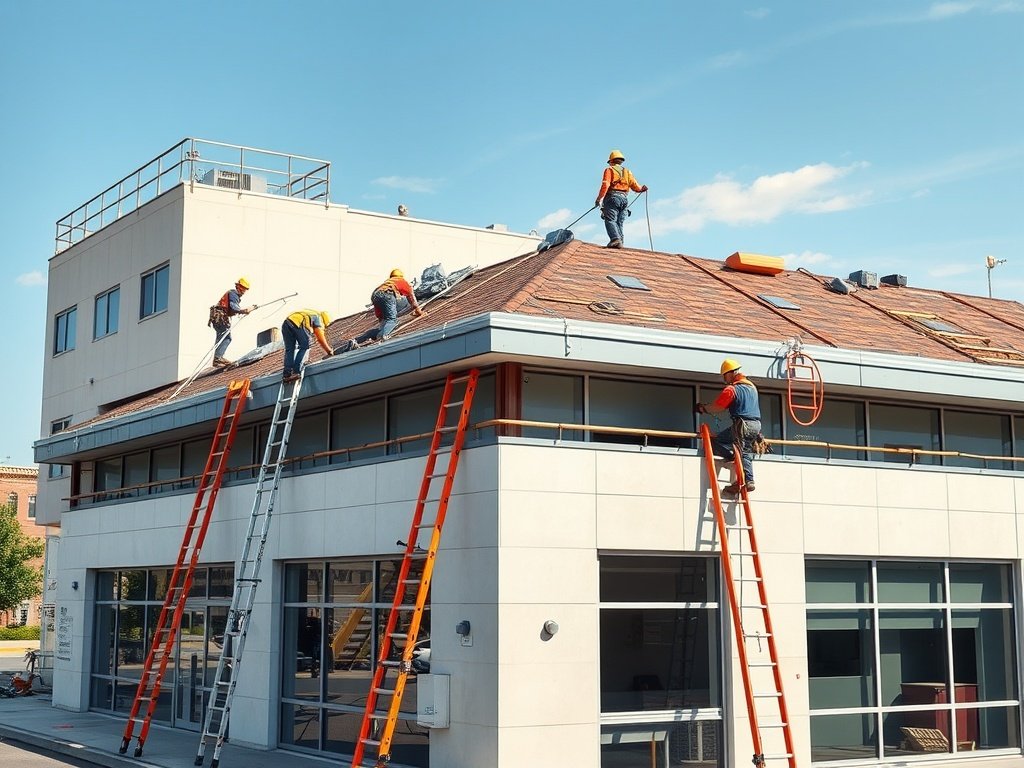
Step 1: Inspection and Assessment
A thorough inspection is essential before any work begins. Equipped with state-of-the-art equipment like sharp eyes and infrared cameras, our expert technicians carefully examine the existing roof and carefully check the following:
Membrane condition:
Tears, punctures, blisters, granule loss, and uneven wear reveal the extent of deterioration.
Flashing integrity:
Cracks, rust, and compromised sealant around vents, pipes, and other penetrations pinpoint potential leak avenues.
Drainage system functionality:
Clogged gutters, downspouts, and scuppers can lead to water pooling and subsequent problems.
Underlying structure:
The inspector checks for rot, warping, or structural deficiencies in the deck beneath the membrane.
Based on these findings, a detailed report is compiled, outlining the scope of the project, potential challenges, and recommendations for the new roof system. This report serves as your roadmap, guiding material selection, budget planning, and timeline expectations.
Step 2: Shedding the Old Skin
This article provides a great overview of how to tear off a low-slope commercial roof. With the plan in place, it’s time for the demolition crew to take center stage. Depending on the existing roof’s condition and local regulations, the removal process can involve the following:
Complete tear-off:
Removing all layers of the existing roof down to the bare deck is the most common approach, ensuring a fresh start for the new system.
Partial tear-off:
If the underlying structure and some layers are still sound, selective removal might be an option, saving time and materials.
Regardless of the method, proper disposal of removed materials is essential. Responsible roofing contractors adhere to environmental regulations and ensure clean work areas throughout the process.
Step 3: Deck Preparation and Repair
Once the old roof is gone, the bare deck becomes the canvas for the new system. This stage involves meticulous preparation and, if necessary, repairs:
Cleaning and leveling:
Debris, dust, and uneven surfaces are addressed to create a smooth and stable platform for the new membrane.
Deck repairs:
We replace rotted or damaged plywood sections to ensure structural integrity. In some cases, we might require additional reinforcement or leveling.
Slope creation:
For proper drainage, the deck is often sloped slightly towards designated drains or scuppers.
Step 4: Membrane Installation
Now comes the moment of truth:
Installing the new waterproof membrane is the heart of your revamped roof. The chosen material, be it EPDM, modified bitumen, or another option, is meticulously installed according to manufacturer specifications and industry best practices. This typically involves:
Underlayment installation:
Depending on the chosen system, someone might install an underlayment for additional protection and moisture control.
Membrane application:
Skilled roofers carefully roll out and adhere the membrane sheets, ensuring proper seams and secure attachment to the deck and flashing elements.
Flashing installation:
Specialized flashing materials meticulously seal critical points around vents, pipes, and other penetrations to prevent leaks.
Step 5: Final Inspections and Cleanup
With the new membrane in place, the final stage focuses on ensuring everything is shipshape:
Final inspection:
A thorough inspection by the roofing team and, ideally, an independent inspector verifies the quality of the installation and adherence to building codes.
Cleanup:
All debris and leftover materials are removed from the site, leaving your property clean and tidy.
Warranties and guarantees:
Reputable roofing contractors provide warranties for their work and the materials they install, offering you peace of mind for years to come.
Choosing a Flat Roof Replacement Contractor
Choosing a flat roof replacement contractor like USA Home Experts can make a big difference in the quality and safety of your home. A professional home services company understands the importance of durable roofing, honest communication, and reliable workmanship. USA Home Experts focuses on building client trust by offering dependable service, skilled installation, and long-term roofing solutions that homeowners can feel confident about.